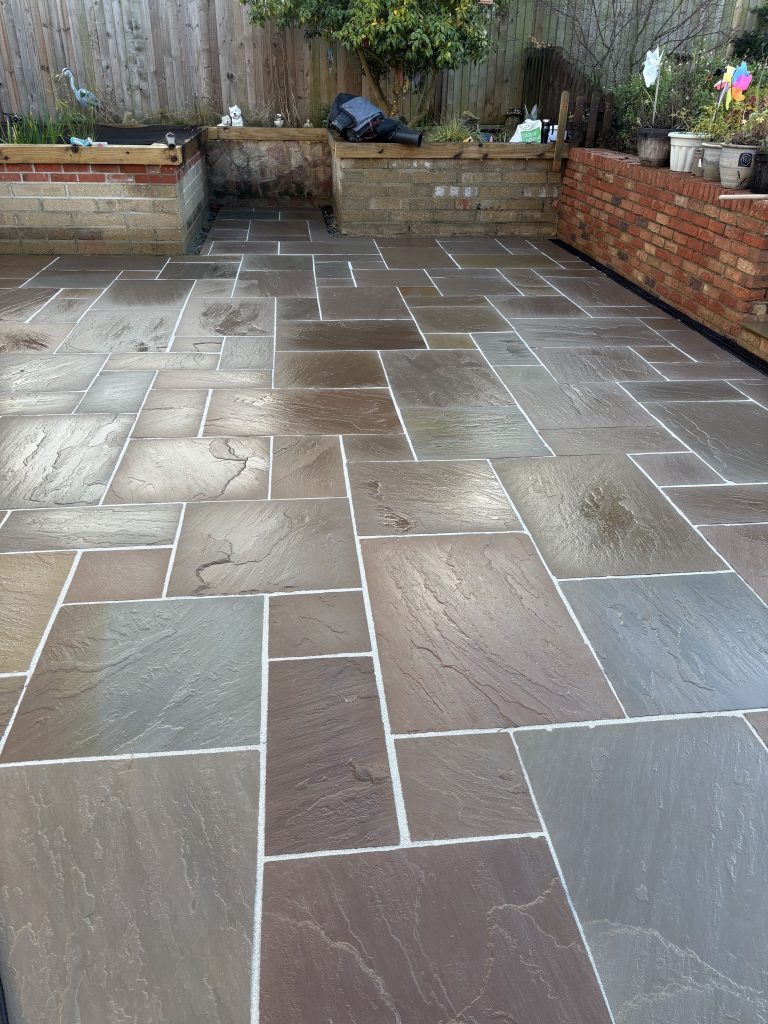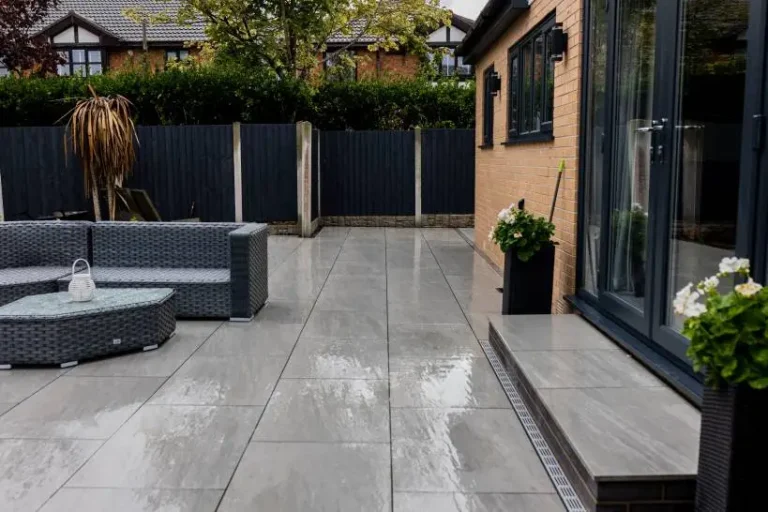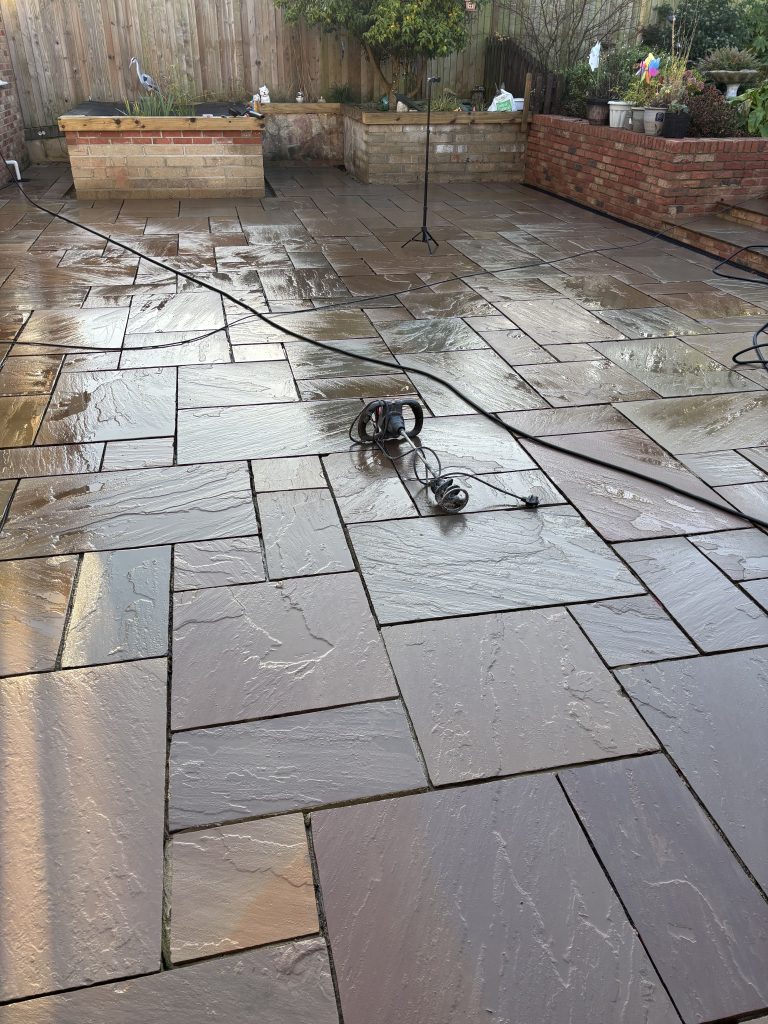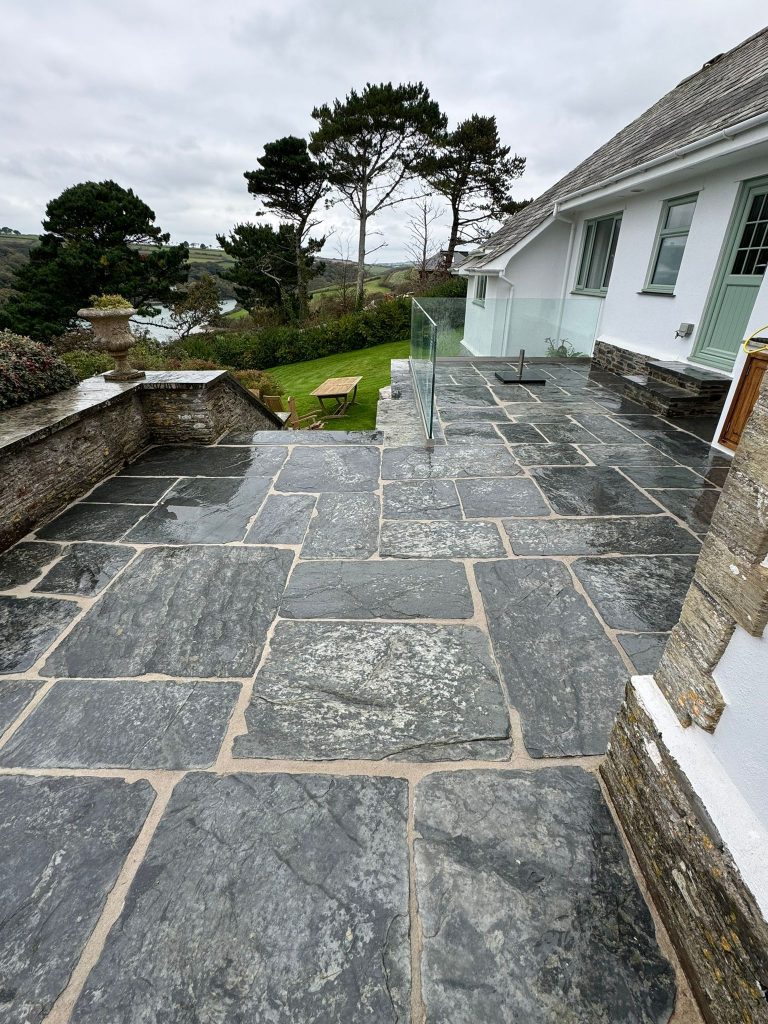
How to Grout Porcelain Slabs: Easy Step-by-Step Guide
Wondering how to grout porcelain slabs without the stress? Good news: with a modern (2nd-Generation) wet-slurry applied, 2-part, epoxy grout, it’s one of the easier jobs in the garden. Better still, there’s no hand-pointing, no waiting for dry weather, and no hours on your knees. In this guide, we walk through the whole process step by step — from prep to the final rinse.
What you’ll need
- A 2-part, 2nd-Generation, epoxy porcelain grout — GftK vdw 815+ for narrow joints (3mm+), or GftK vdw 850+ for wider joints (5mm+) or driveways. Both are made by GftK, the global leaders in paving jointing.
- A drill with a mixing paddle
- A rubber squeegee
- A soft coconut brush
- A hose with a fine spray nozzle — and plenty of clean water
Not sure which grout for your joints? See our guide to the grout comparison guide and our Porcelain Paving Buyers Guides for a full comparison.
Before you grout porcelain slabs: quick checks
- Joints should be at least 3mm wide and min. 20mm deep (min. thickness and depth of external porcelain tiles), clean and free of debris.
- Also, the external porcelain tiles must be firmly bedded and fully set.
- Pick any day above +3°C — light rain is fine. Unlike cement grouts, the wet-slurry epoxy can be applied in damp conditions and even light rain, because the slabs are pre-wetted and there is no cement ratio to be worried about disrupting if there is any residual water in the joints, or further rainfall occurs.
How to grout porcelain slabs — step by step
Step 1: Pre-wet the paving thoroughly
Pre-wet the whole area with clean water until it’s saturated, and keep it wet throughout the job. This is the golden rule. A properly pre-wetted surface also helps prevent any grout sticking to the face of the porcelain, so you can always get a clean, stain-free finish.
Step 2: Mix the grout
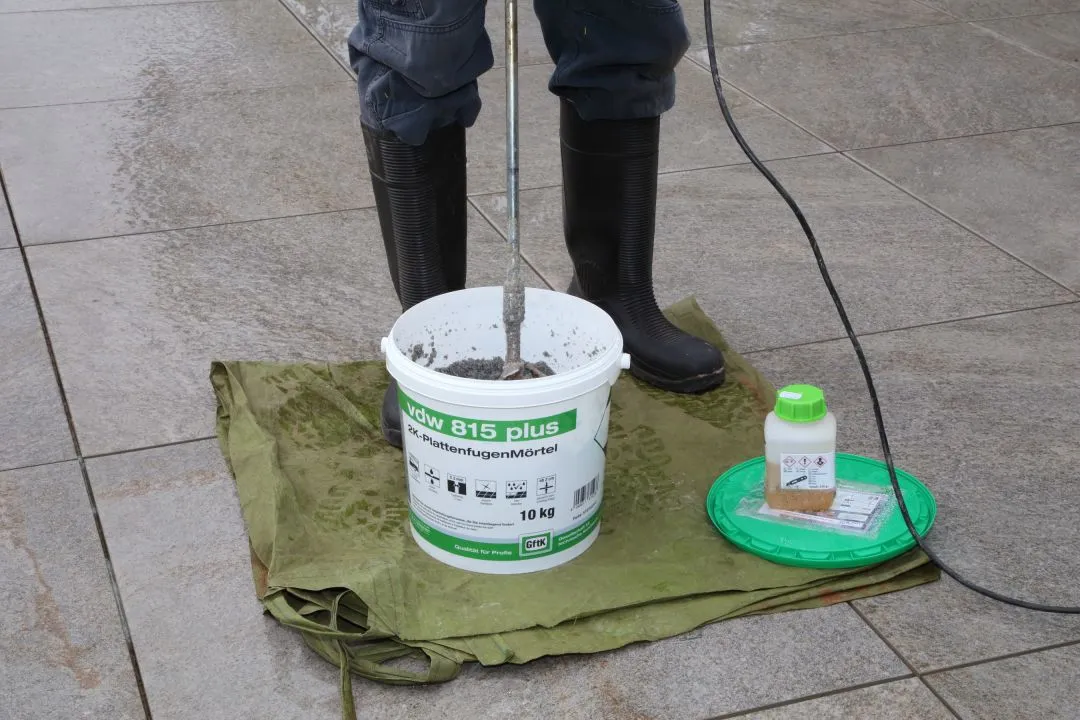
First of all, the product comes fully pre-batched – nothing to measure or add. Simply stir the epoxy-coated sand, add the full bottle of hardener, and mix thoroughly (as shown in the videos) with the drill and mixing paddle for several minutes until the colour and texture are completely uniform. Then it’s ready to use and apply.
Step 3: Pour and squeegee the grout
Pour the freshly mixed slurry grout directly onto the pre-wetted porcelain tile surfaces. Spray with clean water and use the rubber squeegee to help it flow and move it across the surface and into the joints, helping it along with a little extra water from the hose. The 2nd-generation epoxy grout has excellent flow characteristics, and the grout very effectively self-compacts in to the joints – no additional tooling or finishing is required. Plus – You can do all of this standing up!
Step 4: Top up and remove any excess
Give the joints a few minutes for excess water to drain and the grout to compact, top up any joints that need it and work the squeegee over the surface for a final pass, so every joint is full and level.
Step 5: Rinse and brush off
Allow a few minutes to drain, then using the fine coconut brush and a fine spray, remove any residual excess mortar, rinsing the brush regularly in clean water. Finally rinse the surface with a fine spray of water – Job done! Work methodically across the area until the slabs are clean and the joints are neatly finished, plus there is no cement haze and no surface staining.
Step 6: Let it cure
Keep foot traffic off the newly grouted porcelain paving until the grout has hardened. It cures faster in warmer weather (above 8–10°C). After that, once fully cured, the joints resist frost, de-icing salts, weeds and even regular jet-washing.
Common mistakes when grouting porcelain slabs
- Not pre-wetting enough. When in doubt, add more water — you cannot over-wet the surface.
- Letting residue dry on the slabs. Rinse and brush-off any excess mortar as you go, not at the end.
- Using cement or brush-in grout on porcelain. These both bond poorly to non-absorbent porcelain tiles and will tend to crack and/or wash out. See why 2nd-generation epoxy is the better choice.
- Choosing the wrong grade. Use vdw 815+ for narrow joints (3–5mm) and foot traffic; use vdw 850+ for joints over 5mm or for larger / heavier vehicle traffic.
Can you grout porcelain slabs in the rain?
With a wet-slurry, 2nd-generation epoxy grout — Yes. Because the paving is pre-wetted, and there are no issues with residual water in the joints that causes big problems and failure of all cement-based grouts, so damp weather and even working to complete the job in light rain is no problem at all. This is a major advantage in the UK, where waiting for a dry weather window can stall a job for weeks. Cement and brush-in products, by contrast, need dry conditions and a dry forecast.
Get Free Expert Help
Still unsure about your joints, how to estimate your material quantities or colour choice? Call the NCC Streetscape Porcelain Paving Experts on 01257 266696, or you can email sales@nccstreetscape.co.uk for free technical advice and fast UK delivery. A couple of photos of your porcelain paving always helps. You can also browse the full range on our GftK Paving Joint Mortars page.
FAQs
How do you grout porcelain slabs?
Pre-wet the paving thoroughly, mix the 2-part epoxy grout, pour it directly onto the pre-wetted surface, and wet-slurry apply with a squeegee into the joints, where it self-compacts. Then rinse off the excess with a fine spray and a soft coconut brush. No hand-pointing or additional tooling is needed.
How long before you can walk on grouted porcelain?
Keep foot traffic off until the grout has fully hardened — typically around 24 hours in warm weather around 20 °C, longer in cooler conditions. Additionally, it continues to gain strength as above 8–10°C it fully cures and hardens to optimum compressive and flexural tensile strength, plus e-modulus for optimum performance and durability with your porcelain paving.
Do you need to seal porcelain after grouting?
The quality 2nd-generation, epoxy grouts GftK vdw 815+ and GftK vdw 850+ are non-staining and durable, but these days a lot of porcelain paving can be given additional surface enhancement and protection to maintain a wet-look semi-gloss finish, plus to reduce dirt pick-up and make cleaning easier, typically NCC Porcelain Protect and Enhance is ideal for this purpose.
How much grout do I need for porcelain slabs?
It depends on your porcelain tile sizes and joint dimensions. As a guide, 600×600mm tiles with 5mm × 20mm joints use roughly 0.5kg per m². Use the coverage /consumption calculator on the respective GftK product pages for a more accurate estimate, or you can email sales@nccstreetscape.co.uk or call us on 01257 266696 for free expert assistance.
More reads from NCC
View all articles